How to Install Your Railing
For every project, be sure to follow local code and permit requirements.
Watch our short video or read these step-by-step directions to see how to install this stunning railing.
1. Install First Rail
PureSteel Solutions rail is designed to suit a wide range of deck styles. Depending on the layout of your railing, the first step will be one of the following:
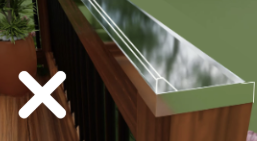
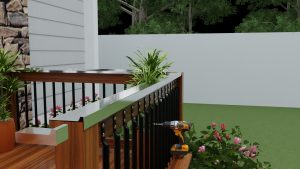
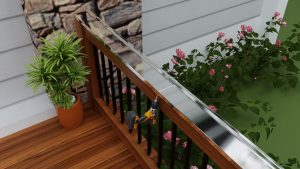
A. Install a section of rail against wall
A section of rail often needs to be installed against a home or building. When sliding the PureSteel Solutions rail onto the 2×6 is not feasible due to space constraints, it is necessary to first uninstall the 2×6.

The raised edge of the rail should be positioned toward the outside of the railing.


Next, slide the rail onto the detached 2×6 and the adjacent section of railing, if applicable.


Note: There is no need to secure the PSS rail to the 2×6 rail as the end cap and transition strips will fasten it in place.
Reinstall the 2×6 back onto the existing railing, in the same manner it was installed originally.

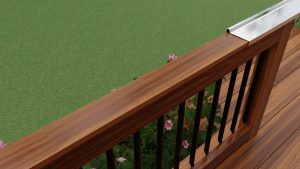
B. Install a Rail on an Accessible 2x6
Slide the PureSteel Solutions rail onto your existing 2×6 deck rail.
The rail is designed to fit snugly on the 2×6. If the fit is tight, gently tap the rail into place using a block of wood and a hammer or mallet to protect the material from damage.
Once positioned correctly, you are ready move on to the next steps listed below.

2. Next Steps
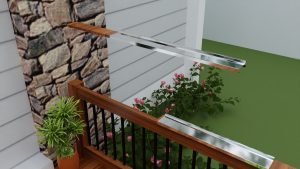
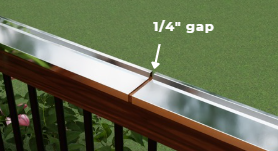
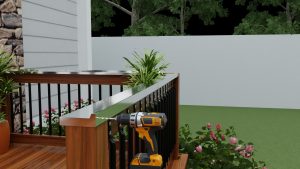
A. Install an adjacent section of rail
When you have a railing length that requires more than one piece of PureSteel Solutions rail, the next step is to slide the second section of railing into place.

The gap between each rail and the corner should be a minimum of 1/4″ to a maximum of 1”.
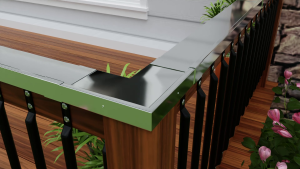
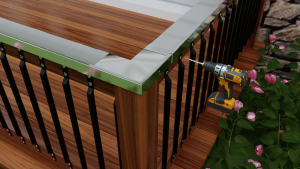
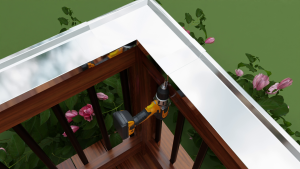
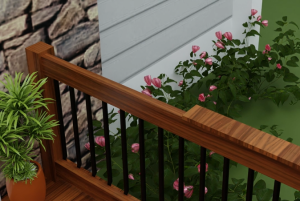
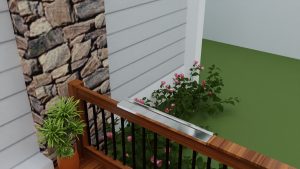
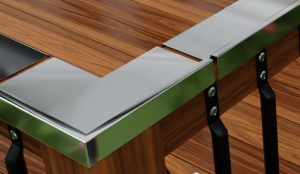
B. Install a corner piece
Corner pieces do not overlap the rails. Once the adjacent rails are installed, set the corner piece into place.

The gap between each rail and the corner should be a minimum of 1/4″ to a maximum of 1”.
The corner piece features two holes along the outer edge.
Secure it using the 1” stainless steel screws with a #2 Phillips screwdriver bit.

Once the corner is secured, see step 3E Install Transition Strips on Corners, for further instructions.
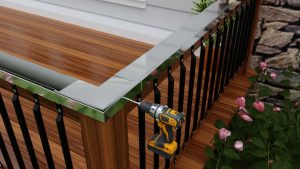
C. Install an end cap
End caps are slightly larger than rails and fit tightly over the ending section of rail. Once the ending rail is installed, fit the end cap into place. The overlap should be a minimum of 1″ and a maximum of 1 1/4”.
End caps are designed for a secure fit, to ensure that your 2×6 is protected from the elements. It may be necessary to tap the end cap into position. Place a block of wood between the hammer or mallet and the end cap to protect the stainless steel while tapping it into position.

Note: Avoid striking the end cap directly with a hammer.
The end cap features one hole on the outer edge. Secure it to the 2×6 using the 1” stainless steel screws with a #2 Phillips screwdriver bit.
Note: The endcap should overlap the rail a minimum of 1″ and a maximum of 1 1/4”.
Repeat the above steps as necessary to continue your project.

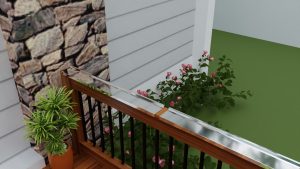
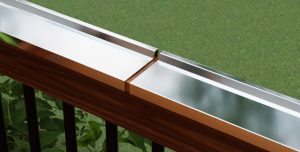
D. Install transition strips
Transition strips cover the gaps between rails. Begin by centering the transition strip over the gap.
The transition strip features two holes – one along the outer edge and one on the lower inside edge. Secure it using the 1” stainless steel screws with a #2 Phillips screwdriver bit.


E. Install transition strips on corners
Transition strips also cover the gaps between corners and the adjacent rails. Center the transition strip over the gap.

The transition strip features two holes – one along the outer edge and one on the lower inside edge. Secure it using the 1” stainless steel screws with a #2 Phillips screwdriver bit.

Repeat these steps for each corner piece.
